

To take up archery, all you need is a sense of adventure. To bring it to the next level and become a pro takes serious skill. Something that separates the amateur target-shooter from the professional is the ability to accurately sight in a bow.
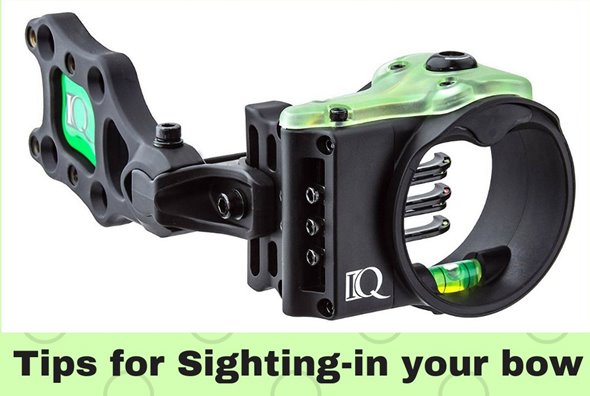
A sight is a device using pin(s) or other marks as a reference point for shooting your arrow, giving you an extra edge in hitting that bullseye., Sighting-in is just a term for adjusting your sight so that it helps you land your target.
I’ve written these steps for multi-pin bow sights used with compound bows, but they can be applied to any type.
First Things First
Make sure that your bow is tuned and your sight is properly installed. You want to do that before jumping into anything else. You also want to make sure that all adjustable features are brought to mid-point.
Try to be in the same posture, location, and position every time you adjust and shoot your arrow. It’s important that your anchor point is constant throughout to make sure that that your arrow quiver is at hand so you get the most of your sight.
Starting Shot
We recommend starting off with a large target that can be seen at least forty yards away.
For a multi-pin sight, the first adjustment you’ll be making is with the first (top) pin, usually designated for a distance of10-20 yards.
Set up and mark the distance between you and your target. Since the bow is not properly sighted yet, the first shot should be relatively close to the target (around 10 yards). If you’re just starting out, you might need multiple shots to get a better picture of where you’re venturing off.
Two things to keep in mind is how far right or left you land, as well as how high or low.
One method you can use is as follows:
Windage – The windage scale determines how far left or right your pin will be sighted-in. It should be adjusted first, before elevation. One tip for determining the correct windage is to put a large piece of tape vertically across your target. See which side most of your arrows land.
Of course, if your arrows end up landing on both sides of the line, you will first need to practice your form and make sure that your bow is tuned. Before moving on, your arrows should at least land on the same side of the tape.
It is necessary to adjust your pin in the direction of error. (Note: this is the complete opposite of adjusting a snipper). In other words, if your starting arrow(s) are too far to the left, it is important to move your pin to the LEFT. This is called “chasing the error.”
Elevation– After the windage has been properly set up, the next step is to determine the correct elevation. The sight box can be adjusted to move the sight up and down. Most models come with micro-adjustable wheels that will allow you to do this with ease, but others will require screws.
This time, place a piece of tape horizontally across your target. Aim directly at the line and see where your arrows land. If they are too far up, you would move your sight UP. If it is too low, you move it DOWN.
Only slight adjustments should be made if you are already close to the target. Slight changes can make huge differences as to where your arrow lands.
Setting additional pins
Each pin must be sighted-in individually. Meanwhile, you are pretty much done for a one-pin sight. The convenience in this is that you’ll never choose the wrong pin when you make your aim.
You’ll also get a clearer, more straight-forward picture, making it easier to concentrate on your aim. On the other hand, multi-pin sights allow you to have a pin for multiple distances without needing to adjust every time.
Here are some things to keep in mind.
1. Use the first pin to gauge the placement of your second and subsequent pins.
Step back an additional 10 yards. Use the first pin as a reference and see how far off from the center your arrows land. Change the windage and elevation accordingly. If your aim is good, you should see that your second group will land quite close to the first. You’ll just need to make slight adjustments to the sight box to land right at the center. If you have any axes on your sight-box, it is important to adjust them here before moving further.
2. The second pin should be the anchor of your sight and remain where it is.
Once you have placed the second (30 yard) pin at the right location, you want to keep it there and leave it alone. During the rest of your sighting-in routine, refrain from touch the sight housing or this pin in particular. Focus only on the pins below. If you don’t, you might also screw up the one above.
3. After setting the second pin, move all other pins without moving the sight box.
With the 40 yard pin and further, you can sight-in just as you did with the first. However, since the second pin is set in place, all you want to do now is move the pin itself. In most cases, the distance between 30 and 40 yard pins should be greater than between 20 and 30 yard pins.
4. Re-test.
It’s a good idea to move back to the 10 yard mark and shoot your arrow again. This is to make sure that you’ve not moved the top pin by accident and are ready to go.
Sight Axes (If You Have Them)
Certain bows used by competitors also come with adjustable sight axes. This can give you maximum accuracy that is not found with other sights. Axes usually come with sights used for targeting and 3-D shooting, usually as a set of three.
1. The first axis allows you to spin your sight around a horizontal line (top to bottom).
2. The second axis allows you to spin your sight clockwise and counterclockwise.
3. The third axis helps to stabilize your bow, allowing to to be vertically aligned for any shot position. It is most useful if you are shooting uphill or downhill.
The steps above may seem like a lot but once you get the hang of it, they will become second nature. You will fly by them and work your aim like a pro. The steps are also much simpler if you are just using a one-pin bow sight. All you need to do is locate the one pin on your sight based on the distance you are shooting.
The convenience in this is that you’ll never choose the wrong pin when you make your aim. You’ll also get a clearer sight picture that is straightforward. in fact, both amateurs and professional archers have said that single-pin sights make it a lot easier to concentrate their aim.
On the other hand, multi-pin sights give you the advantage of being able to place a pin for various distances without further adjustments. They can also serve as rangefinders for hunting purposes.
It may take a while to practice sighting your bow, but with the proper step-by-step approach, you will master it for good.
We are happy to present this collaborative post to offer valuable information to our readers.

This is very helpful.Thanks for sharing.