A big thank you to Discover Corps for providing this artsy experience! As always, all opinions are our own.
Ever wonder how the beautiful silhouette scenes of Africa make it on to fabric?
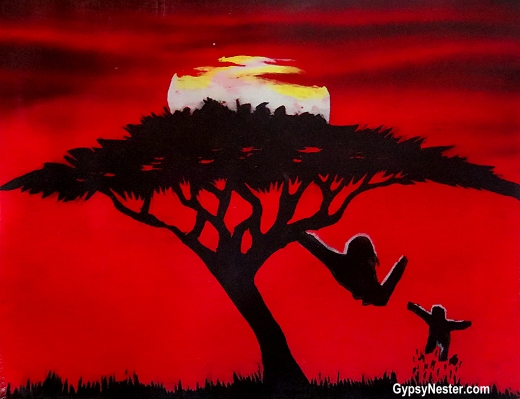
We did and, as part of our Discover Corps experience in Tanzania, we learned the secret. We even got to try our hand at making our own.
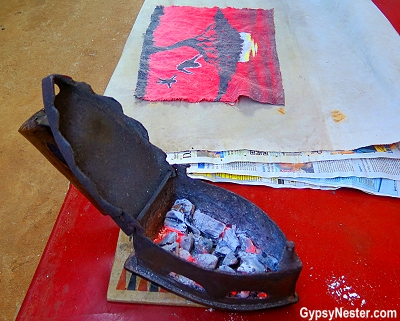
The method is called batik and the process uses colorful dyes — controlled by applying wax to cloth — to create the images.
The idea of the our endeavor was to (hopefully) bring out our artistic qualities.
As we began they seemed to be fairly well concealed, but the group of artists who came to visit us at our homebase were as patient as they were talented, and coaxed us into making bold attempts.
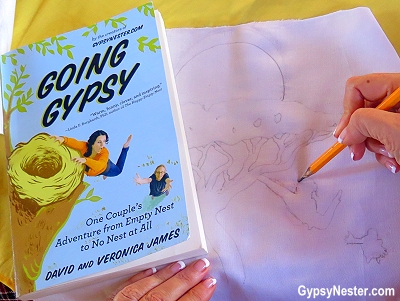
We were each issued a piece of fabric and a pencil to begin our endeavors.
The idea was to sketch a picture that would then be dyed into the material.
Looking around the table we noticed many diligent, yet somewhat pained expressions on the faces of our Discover Corps mates.
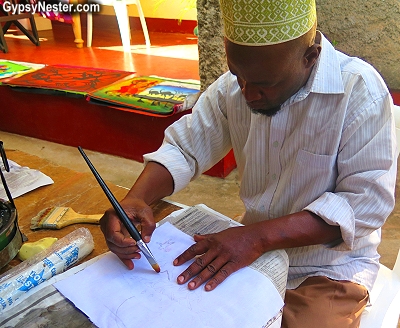
Many of us were unknowingly doing the classic tongue-sticking-out-of-the-side-of our-mouth and slightly-bitten look of a kid really bearing down on something.
Once we managed to draw something loosely resembling a picture, wax was applied to all areas that would remain white.
The wax acts as a shield so, when dye is applied, the colors wouldn’t affect the waxed portions.
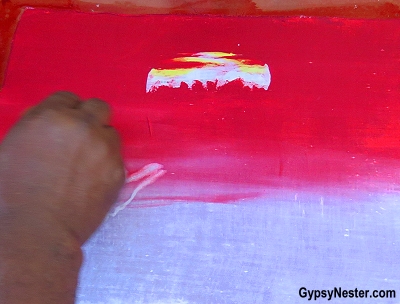
Once the wax hardened, the staining process began.
Wanting a sunset silhouette, we chose vivid colors of red and yellow — to blend into the brilliant oranges of sundown — and the dyes were applied to the entire cloth.
After the background was laid down, the fabric was dried over a charcoal fire.
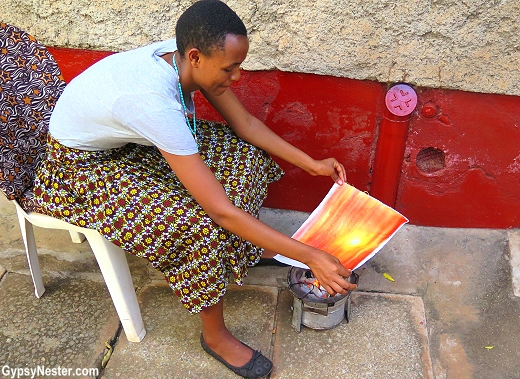
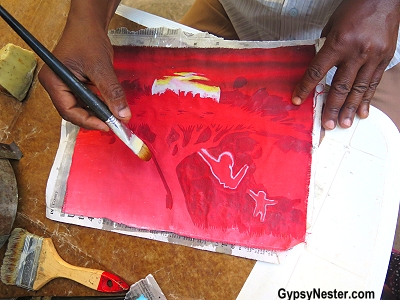
Once dried, more wax could be applied to the entire cloth – minus the areas that would ultimately be black. So our happy little tree was left unwaxed.
This enabled our tribe of less-than-precise artists to color the waxless areas without the worry of the dye going all willy-nilly.
Brilliant!
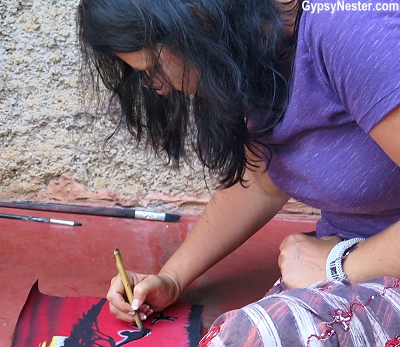
We painted in the black dye with a tiny brush to the proper areas, and, upon completion, the drying process was repeated.
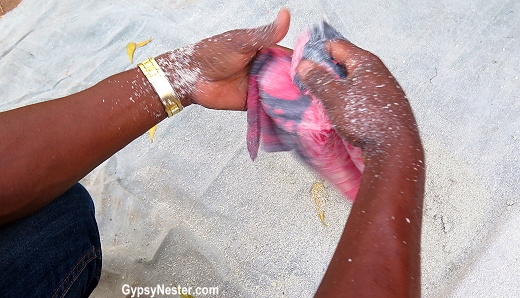
To remove the wax, we simply rubbed the fabric against itself vigorously.
In Tanzania, nothing is wasted; the wax that fell from our masterpieces was gathered and returned to the melting pot to be used again.
We then ran a hot iron over our cloth to melt away any remnants.
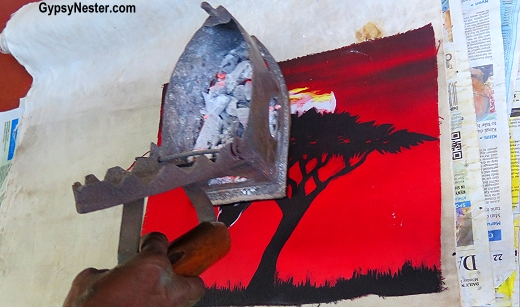

Viola! We had our masterpieces.
Actually, many members of our group made very impressive scenes, however David’s elephant’s head came out looking more like a cassowary than a pachyderm.
On the other hand, Veronica managed a rather clever adaptation, an African version of the cover of our book, Going Gypsy: One Couple’s Adventure from Empty Nest to No Nest at All.
David & Veronica, GypsyNester.com
Delve Deeper:
See our Tanzanian adventure from the very beginning
Click to see all of our adventures in Africa!
A big thank you to Discover Corps for providing this artsy experience! As always, all opinions are our own.


I’ve done a lot of batik in my day and am very impressed you were able to capture your silhouette the way you did. Bravo! You must have some drawing talent.
Thanks Alison, but not so sure about that. Maybe I just got lucky.
I had no idea how batik was made, thanks for this article. Your finished project looks great!
Thanks Nathalie, we didn’t know either… until now.
This looks like fun, and your batik silhouette turned out great Veronica!
The making of the batik must have been such fun. I love how the cover silhouette turned out.
Thanks Donna, it was really fun.
Easy when you know how! Your cover print looks fabulous! I ltoo ove the iron…probably a lot more effective than an electric version
I have a few batik artworks we picked up years ago in Tanzania. I love the unabashedly bright colors. Yours came out really well with a very clever idea! I would have liked to see a photo of David’s artwork too, though!
David doesn’t think that his came out fit for public display. His elephant ended up looking like a giant mouse.
Very interesting to see how these African batiks are made, and I LOVED that old iron!
The iron was pretty cool, huh? Thanks!
What a beautiful art form and so nice that you were able to see how it is done!
Thanks Irene!
I remember trying Batik printing years ago. Painting the wax on fabric and then dying it. Your projects were much more interesting! Great idea to share this in a post.
Thanks Suzanne. We had a lot of help.
I love your courage, getting involved in such a project. Your picture is certainly nothing to be ashamed of – a great beginners’ art work!
Thanks Juergen. Actually, I am pretty happy with how it came out, David didn’t like his much though.